“`html
Step-by-Step: How to Prepare Your Oven for a Professional Cleaning
Welcome to Diamond Oven and Carpet Cleaners Ltd. I’m Phil Newman, and today, I’ll guide you through the essential steps to prepare your oven for a professional cleaning. A clean oven not only enhances the taste of your food but also extends the life of your appliance. Let’s dive into the process.
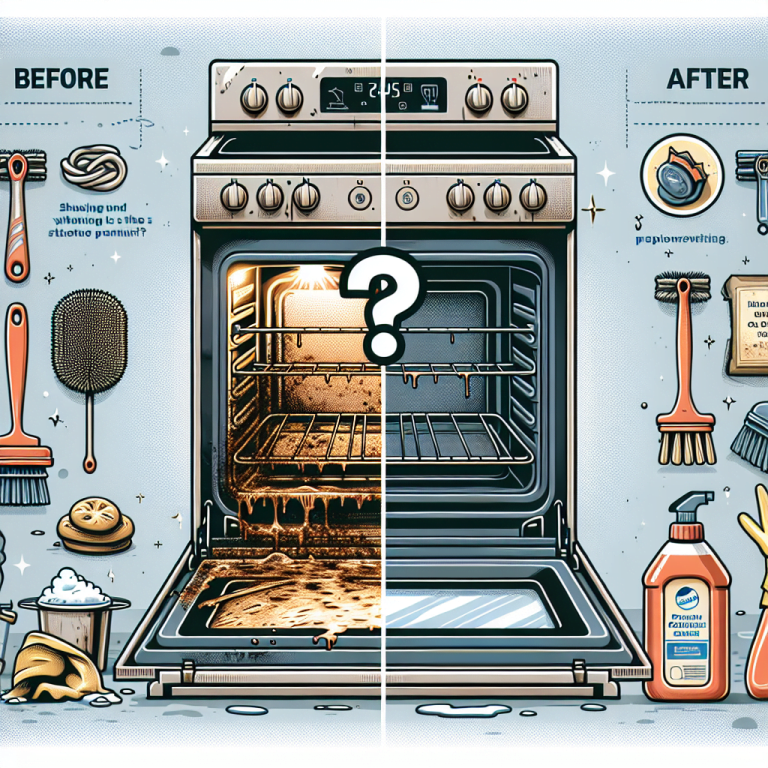
Why Professional Oven Cleaning is Important
Professional oven cleaning offers numerous benefits. It ensures thorough cleaning, removes stubborn grease, and eliminates harmful bacteria. According to a survey by Which?, 75% of people believe a clean oven improves the taste of their food. Additionally, a clean oven operates more efficiently, saving you money on energy bills.
Step 1: Gather Your Supplies
Before you start, gather all necessary supplies. This will make the process smoother and more efficient.
- Rubber gloves
- Old newspapers or paper towels
- Plastic bags
- Soft cloths or sponges
- Oven cleaner (if needed)
Step 2: Clear the Area
Remove any items from around the oven. This includes pots, pans, and other kitchen utensils. Clearing the area ensures nothing gets in the way during the cleaning process.
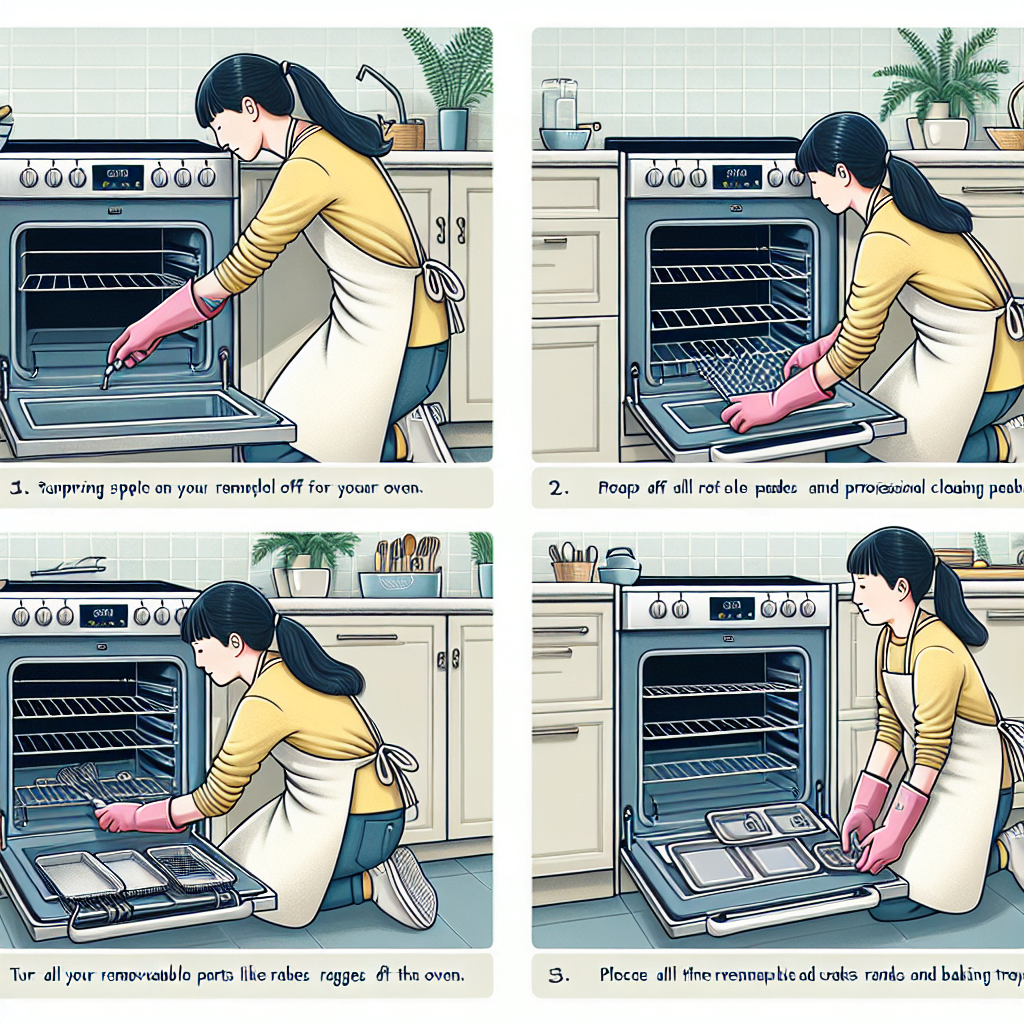
Step 3: Remove Oven Racks and Trays
Take out all removable parts, such as racks and trays. Place them in a plastic bag or on old newspapers to prevent any mess. These parts will be cleaned separately.
Step 4: Pre-Clean the Oven
Wipe down the interior of the oven with a damp cloth to remove loose debris. This step makes the professional cleaning more effective.
Step 5: Apply Oven Cleaner (If Needed)
If your oven is particularly dirty, apply an oven cleaner. Follow the manufacturer’s instructions carefully. Ensure the room is well-ventilated to avoid inhaling fumes.
Step 6: Let the Cleaner Sit
Allow the oven cleaner to sit for the recommended time. This usually ranges from 15 minutes to an hour. During this time, you can clean the oven racks and trays.
Step 7: Clean the Oven Racks and Trays
While the cleaner works its magic, focus on the racks and trays. Use a soft cloth or sponge to scrub away any grease and grime. Rinse thoroughly and let them dry.
Step 8: Wipe Down the Oven
After the cleaner has done its job, wipe down the interior of the oven with a damp cloth. Ensure all cleaner residue is removed. This step is crucial for food safety.
Step 9: Reassemble the Oven
Once everything is clean and dry, reassemble the oven. Place the racks and trays back in their original positions.
Step 10: Final Inspection
Conduct a final inspection to ensure everything is spotless. A clean oven not only looks good but also functions more efficiently.
Additional Tips for Maintaining a Clean Oven
Regular maintenance can extend the time between professional cleanings. Here are some tips:
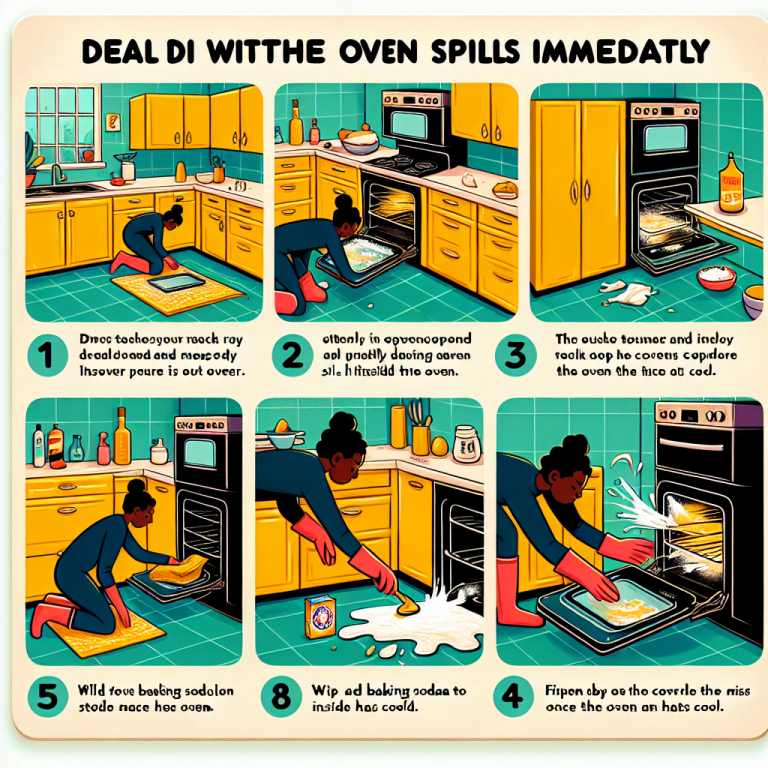
- Wipe spills immediately to prevent them from hardening.
- Use oven liners to catch drips and spills.
- Schedule regular professional cleanings for optimal performance.
Conclusion
Preparing your oven for a professional cleaning is a straightforward process. By following these steps, you ensure a thorough and effective cleaning. A clean oven not only enhances your cooking experience but also extends the life of your appliance.
For more information on our Oven Cleaning Services, Carpet Cleaners Services, and Commercial Cleaning Services, feel free to contact us.
Contact us today at info@diamondovenandcarpetcleaning.co.uk, 01332 726 650, or 07938 185627 to schedule your professional cleaning. We look forward to serving you!
“`